
All 8 Specializations Compared — Roles, Abilities and Combo Logic
Compare Assault, Gunslinger, Heavy, Medic, Scoundrel, Scout, Sharpshooter, and Soldier by role, abilities, AP needs, and dual-Specialization planning.
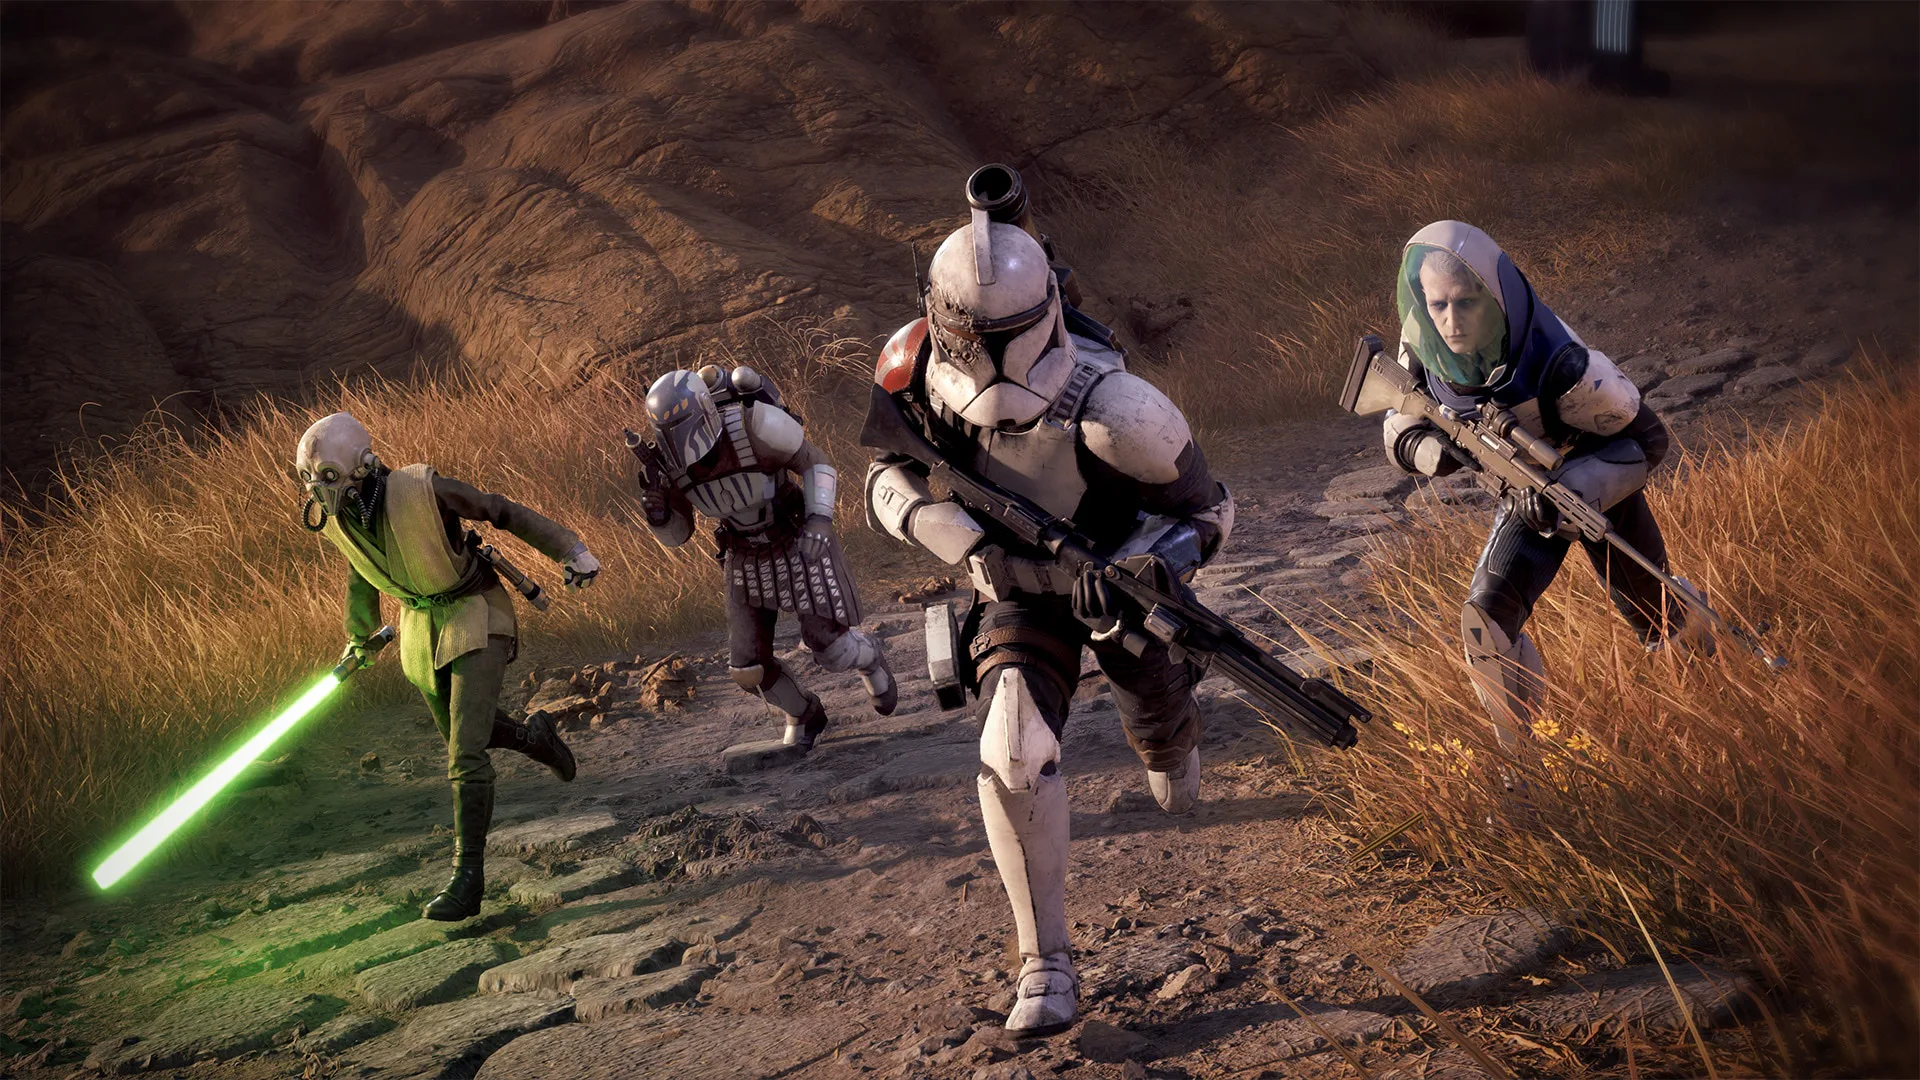
There are eight standard Specializations: Assault, Gunslinger, Heavy, Medic, Scoundrel, Scout, Sharpshooter, and Soldier. Later in the campaign, Operators can add an additional Specialization, so the useful question is not “which class is #1?” but “what job does this kit do, and what second kit covers its blind spot?”
The eight standard kits
| Specialization | Ultimate | Standard | Main job | Best when… |
|---|---|---|---|---|
| Assault | Sweeping Salvo | Bull Rush | Mobile frontline | You need to reposition, pressure cover, and exploit exposed targets |
| Gunslinger | Open Fire | Quick Draw | Fast multi-attack damage | You can chain attacks and convert kills into AP tempo |
| Heavy | Bulwark | Unstoppable | Tank / threat control | The squad needs a durable anchor and taunts |
| Medic | Morale Boost | Combat Stim | Healing / rescue | Injuries and Rally risk are shaping the campaign |
| Scoundrel | Easy Mark | Identify Weakness | Setup / assists | You want to force a high-value crit and improve team follow-ups |
| Scout | Ambush | Combat Recon | Advantage / spotting | Enemy density is high and the squad benefits from better hit reliability |
| Sharpshooter | Precision Shot | Zero In | Long-range burst | You can hold position and exploit long sightlines |
| Soldier | Rocket Strike | Brutal Strike | Explosive all-rounder | You want a clear damage plan with grenades, melee, and AoE |
The most important combo principle
Later dual-Specialization planning should solve one of three problems:
- AP mismatch: a powerful kit has too little AP left to reposition or support.
- Setup and finisher mismatch: one Operator creates Vulnerable, Spotted, or Advantage but does not capitalize on it alone.
- Survivability mismatch: a damage kit is excellent until Hard or Expert pressure, or Permadeath, makes one mistake too expensive.
That is why mechanically coherent pairs matter more than an arbitrary S-tier list.
Examples with a clear mechanical reason
- Scoundrel + Sharpshooter concept: Identify Weakness creates a guaranteed crit opportunity; a Longarm/Sharpshooter-style heavy hit is an obvious finisher.
- Scout + fast weapon / attack-heavy kit: Spotted rewards landing blaster hits on several targets; more attacks can spread the debuff more effectively.
- Medic + damage kit: Combat Stim increases an ally’s combat output while the Medic side reduces injury risk. Useful when you want one Operator to contribute beyond pure healing.
- Heavy + offensive secondary: Bulwark and passive defense establish the anchor; the second kit can add damage so the Operator is not spending every turn just absorbing fire.
Good starting points
| Player preference | Good starting pick | Weapon |
|---|---|---|
| New to turn-based tactics | Soldier or Assault | Blaster Rifle |
| Maximum damage | Gunslinger, Soldier, or Heavy | Repeater |
| Long-range | Sharpshooter | Longarm Blaster |
| Mobility | Assault or Gunslinger | Blaster Pistol |
| Tactical planning | Scout or Scoundrel | Flexible |
| Squad support | Medic | Flexible |
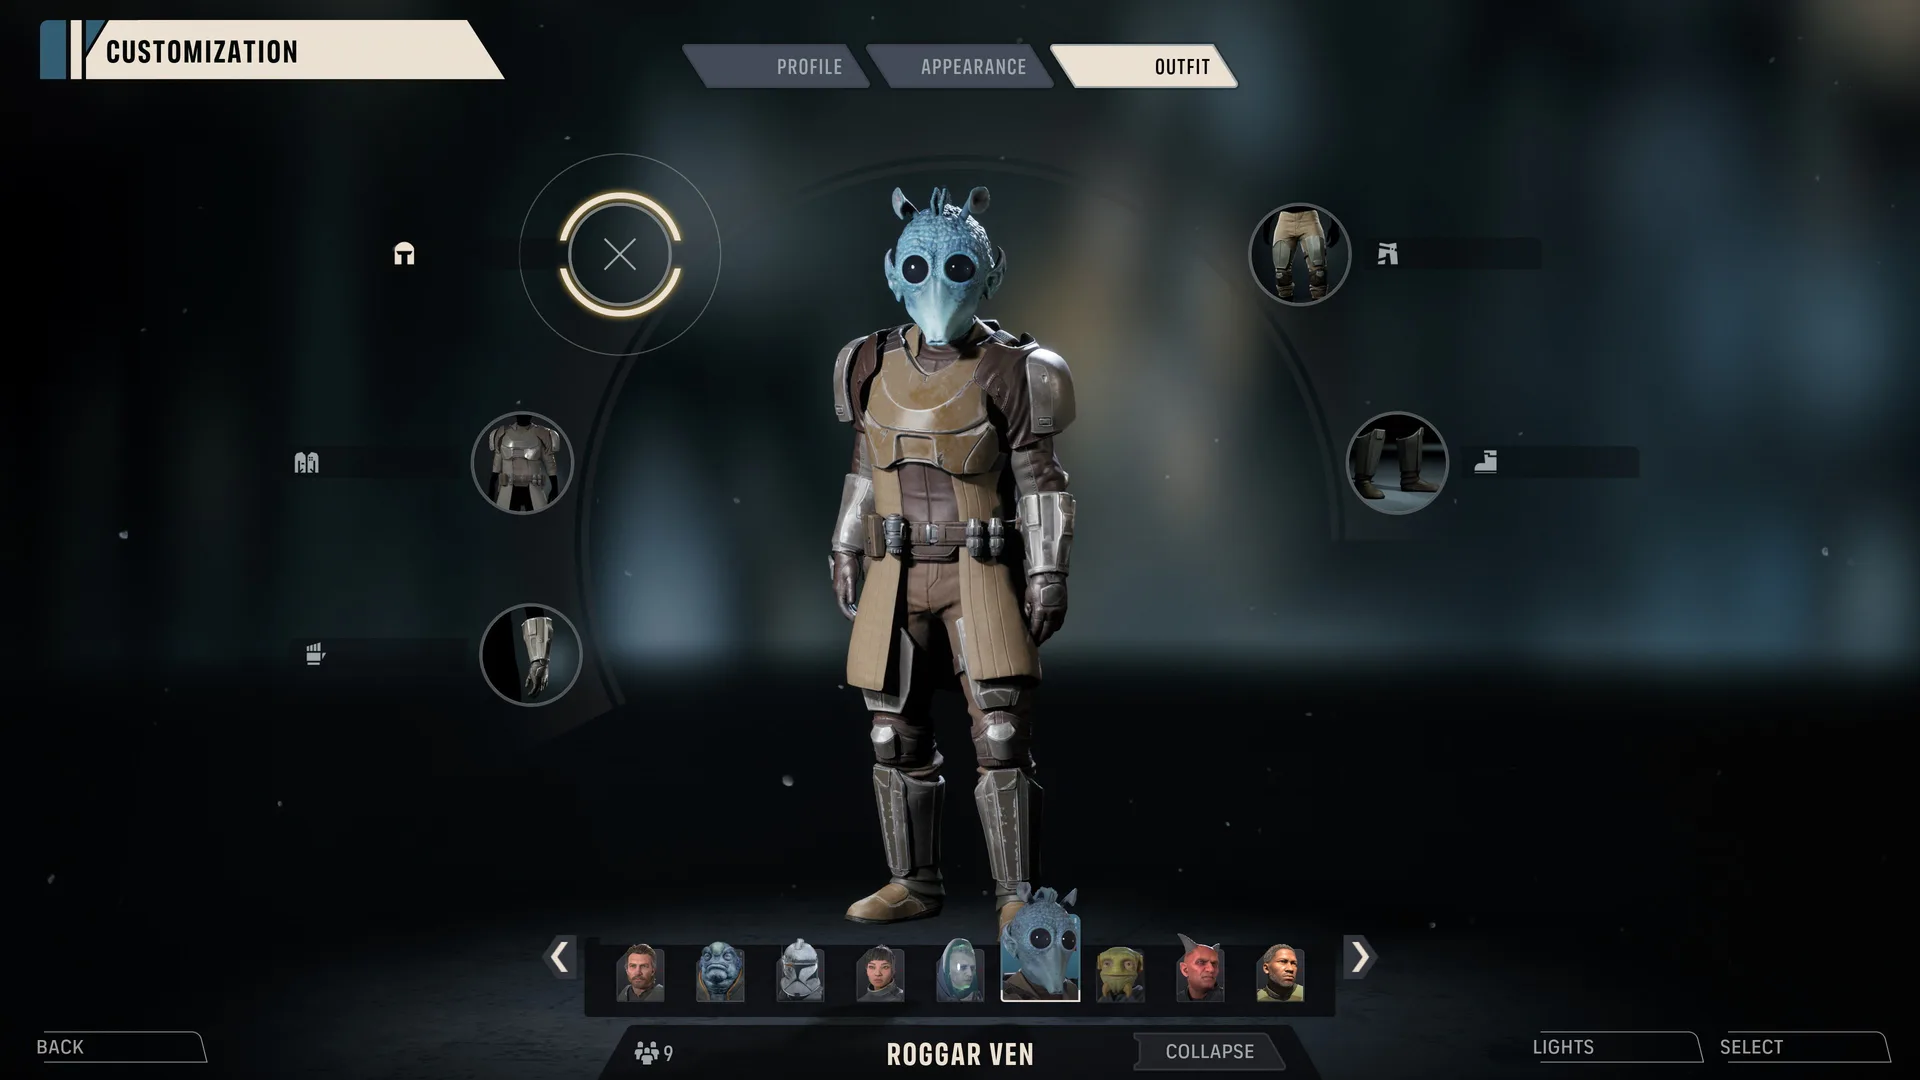
Those are starting points, not immutable builds. The game gives Hawks and custom Operators room to change Specializations, while some story characters have fixed elements.
Do not ignore Weapon Class
A class label does not lock the weapon. A Scout can use a pistol to land more 1 AP tagging shots; a Sharpshooter naturally benefits from Longarm range and crit damage; a Heavy can choose between a Repeater damage commitment or a cheaper weapon when it needs AP for control actions.
Use the Specialization Planner for a decision-oriented recommendation instead of treating this table as a tier list.